I reached a point where I decided that reducing the weight of the photography equipment that I carry would really help both me and my photography. While my Nikon Z8 mostly did what I wanted in a camera, carrying it and my lenses, one or two tripods, sometimes other gear for creating videos etc. was beginning to get in my way. As an outdoor landscape and wildlife photographer I also feel that it was taking away some of the enjoyment from my photography.
After much consideration and thinking about all possible options I decided I would purchase an OM System OM-1 Mark II camera with the M.Zuiko Digital ED 12-40mm F2.8 PRO II lens. My intention was to test the camera, take a few of my own images, evaluate the RAW files, create a print and come to a decision. My research suggested the camera would be a very capable tool for wildlife photography so, even though I hadn’t tried it, I was confident it was capable in terms of autofocus. My interest lay in the ergonomics of the camera, the menu system, image quality etc. Would this be a camera that I would only use on long difficult hikes when weight saving was a priority? Or, would I feel that the OM-1 Mark II (with a collection of lenses) would meet all my needs, help deliver the photographs that I want, and be good enough to produce high quality prints?

Capturing my first on-location photograph with the OM-1 Mark II camera and 12-40mm F2.8 PRO II lens.
Why did I choose the OM-1 Mark II? After looking at all options I really felt that this is a camera system which would suit my needs better than any other. I would of course save weight and size but there was more to it than that. As an outdoor photographer based in Scotland the weather sealing on OM System products really appealed to me as I am often caught in inclement weather conditions. I was aware that the camera offered a lot of customisation including the ability to setup four custom modes; as a wildlife and landscape photographer this is something that I felt could really benefit me. After studying the lenses which are available for the OM-1 Mark II I was certain that I could build a kit perfect for my own individual needs (I did mention the weather sealing already didn’t I?). Some of the lenses which caught my eye were:
M.Zuiko Digital ED 12-40mm F2.8 PRO II
M.Zuiko Digital ED 150-400mm F4.5 TC1.25X IS PRO
M.Zuiko Digital ED 300mm F4.0 IS PRO
M.Zuiko Digital ED 40-150mm F2.8 PRO
Should I want to go even lighter there are similar F4 lens options available to use instead of the F2.8 versions. Then, in addition to the above lenses, OM System announced the M.Zuiko Digital ED 50-200mm F2.8 IS PRO which I feel would be a fantastic lens for both landscape and wildlife photography. While I don’t expect to own all these lenses I greatly appreciate the choice and I feel I can build up a kit that perfectly suits my own needs.

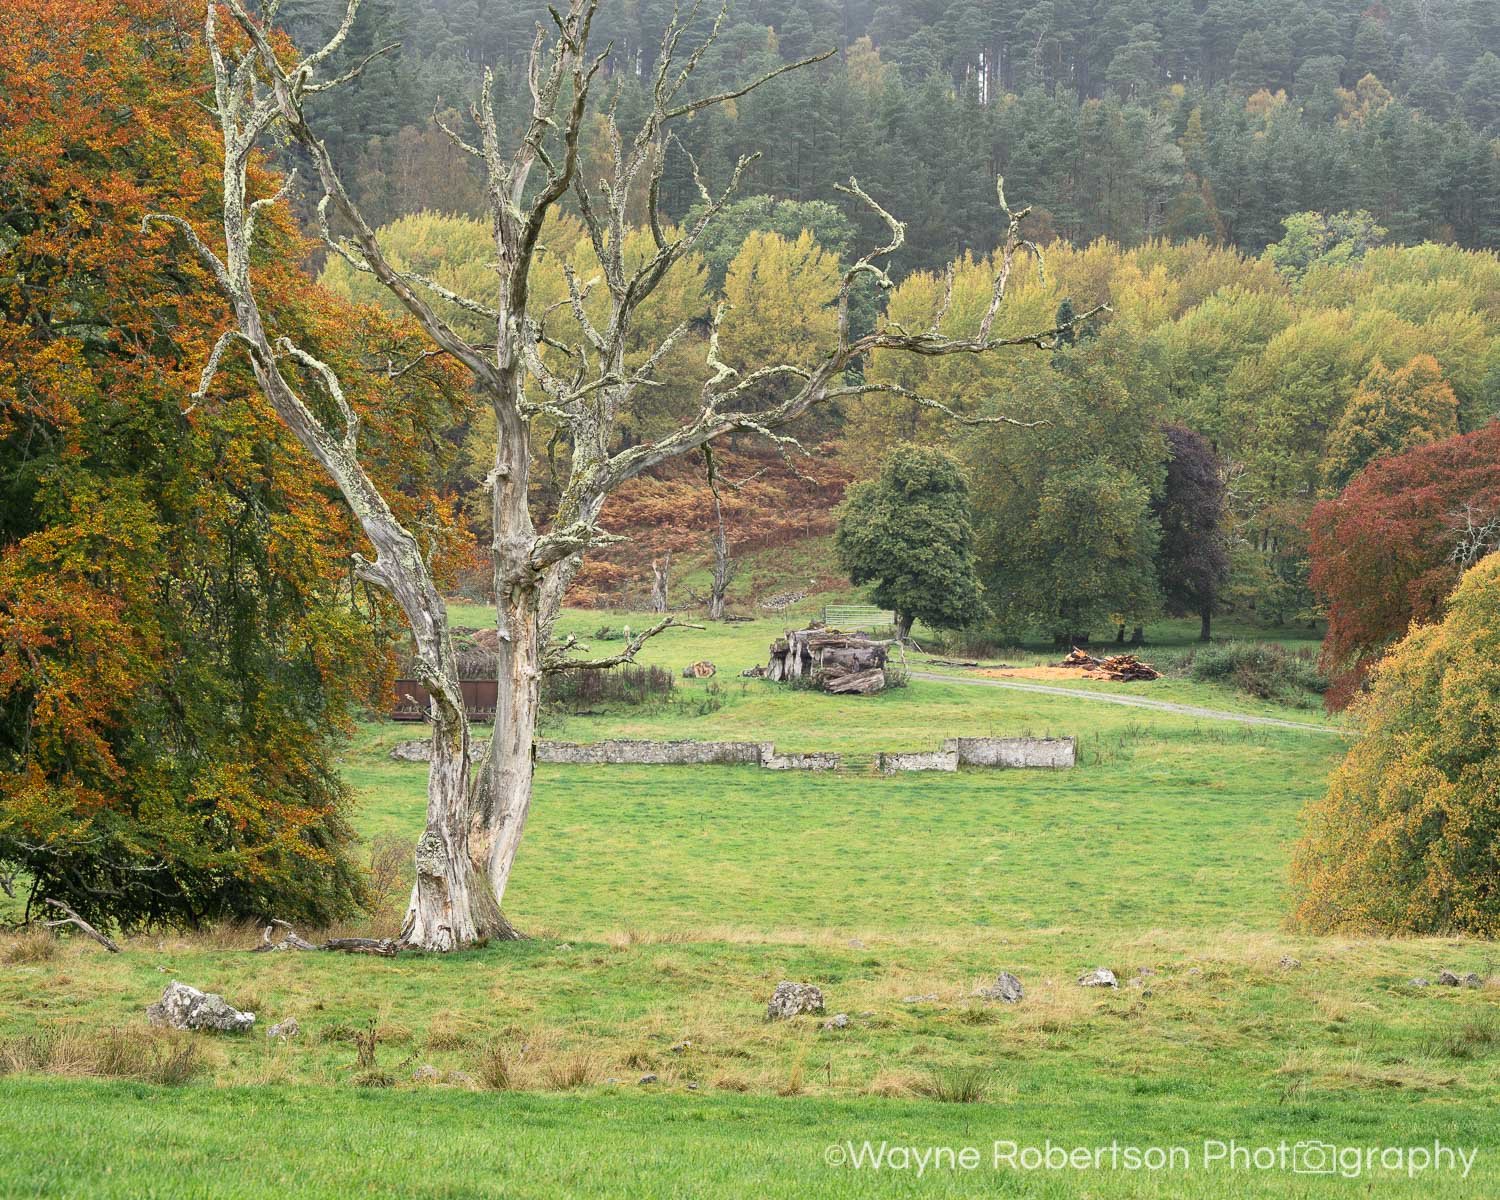
My first landscape photography photograph taken with the OM-1 Mark II.
So, having now used the OM-1 Mark II and done quite a lot of testing, and produced a print of the above photo - what do I think of it and what have I decided to do? I’ve created a detailed YouTube video with lots of information that you can watch here.